 Save It
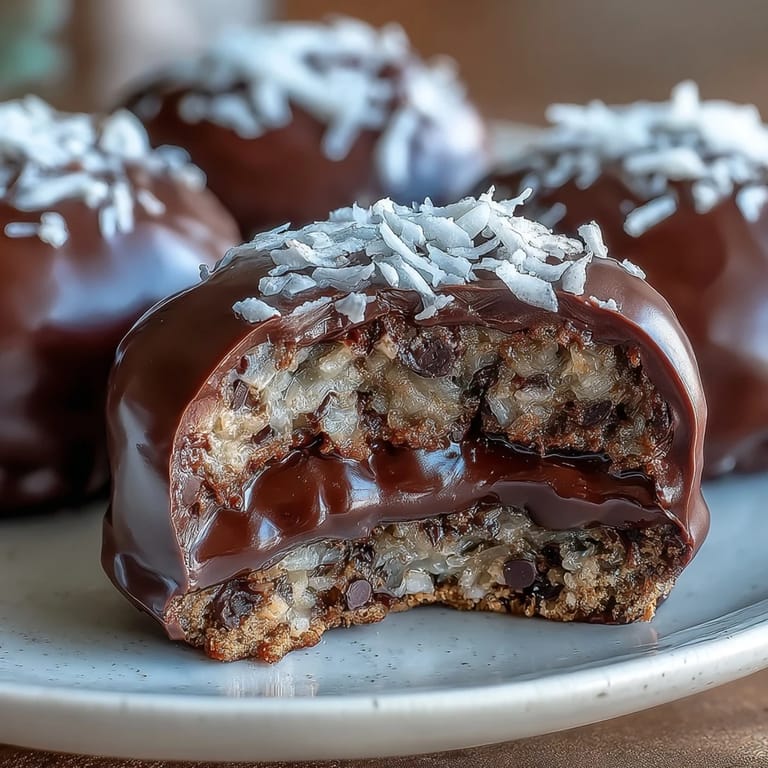
 My cousin handed me one of these at a family gathering last winter, and I bit into something unexpectedly perfect—dense, chewy, and somehow both rich and bright at once. She laughed when I asked for the recipe, saying she'd invented them on a snowy afternoon when the bakery was closed and she needed something to bring to a potluck. What started as kitchen improvisation became the thing people now ask her to make, and after a few batches myself, I understand why completely.
I made these for a book club meeting once, nervous because everyone there seemed to bake professionally, and someone actually asked if I'd bought them from a specialty shop. The look on their faces when I admitted they took me less than half an hour, including chill time, was worth more than any compliment.
Ingredients
- Sweetened condensed milk (1 can, 300 ml): This is the backbone—it's what makes them fudgy and holds everything together without needing to bake anything.
- Unsalted butter, melted (1/4 cup): Adds richness and helps bind the mixture, so make sure it's actually melted and not just soft.
- Vanilla extract (1 tsp): A small amount that somehow makes the coconut taste more like itself.
- Dried shredded coconut (1 1/2 cups): Toast it lightly in a dry pan first if you want deeper flavor, though it's wonderful as-is.
- Graham cracker crumbs (1 1/2 cups, plus extra for rolling): Use the finest crumbs you can find—processor-ground ones are smoother than crushing by hand, though both work.
- Chocolate chips (1 1/2 cups): Semi-sweet is classic, but dark chocolate makes them sophisticated and milk chocolate makes them sweeter.
Tired of Takeout? 🥡
Get 10 meals you can make faster than delivery arrives. Seriously.
One email. No spam. Unsubscribe anytime.
Instructions
- Combine the wet base:
- Stir the melted butter, sweetened condensed milk, and vanilla together in a large bowl until you can't see any streaks—this takes about 30 seconds and smells like a bakery. Don't overthink this step; you're just waking up the vanilla.
- Fold in the dry ingredients:
- Add the coconut, graham cracker crumbs, and chocolate chips all at once, then mix with a rubber spatula until you can't see any white streaks of coconut or crumbs. This moment is when the mixture transforms from liquidy to dough-like, usually in about a minute of stirring.
- Chill until firm:
- Cover the bowl and refrigerate for about an hour—you want it firm enough to scoop without it being rock hard. A quick poke with your finger should leave a slight indent, not a crater.
- Shape into bites:
- Use a small cookie scoop or tablespoon to portion the mixture into roughly equal pieces, then roll each one between your palms until it's a smooth ball about 1 1/4 inches across. If the mixture gets too warm and sticky, pop it back in the fridge for 10 minutes.
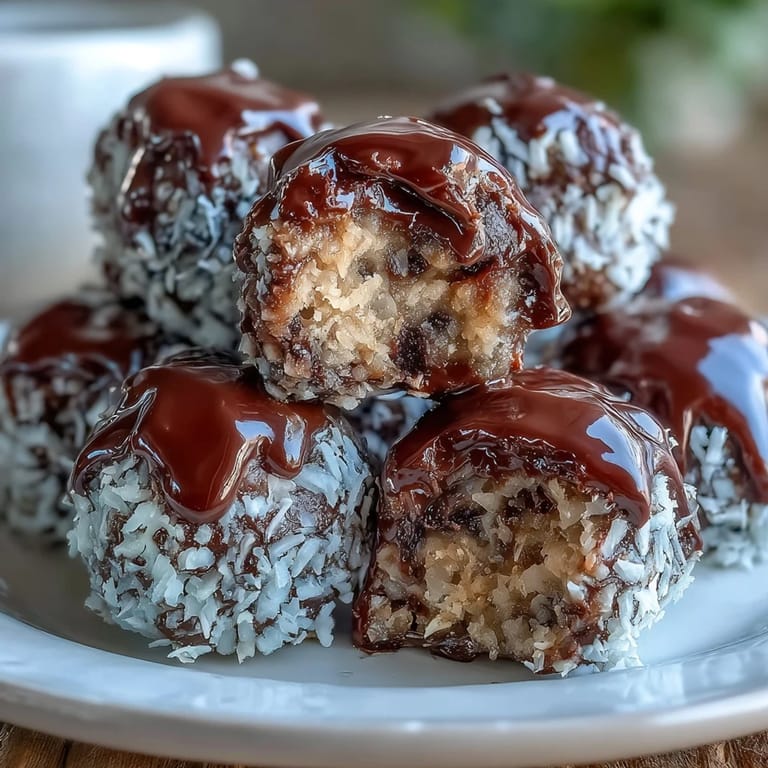
- Coat with graham cracker crumbs:
- Roll each ball in extra graham cracker crumbs until it's fully coated, pressing gently so they stick. This is meditative, and the coating keeps them from sticking together.
- Final chill and serve:
- Place the coated bites on a parchment-lined baking sheet and refrigerate for at least 15 minutes until they're completely set. They taste best straight from the fridge, when they're cold and slightly yielding.
 Save It
 My neighbor once asked if she could bring these to a holiday party, and I watched her hand me an empty container the next day, grinning like she'd done something impossibly clever. She'd doubled the batch, and they were gone before dinner was cleared.
Flavor Variations That Work
The base recipe is forgiving, and once you've made it once, you'll start seeing possibilities everywhere. A handful of finely chopped toasted pecans adds warmth, while swapping in white chocolate chips makes them taste like creamy dreams—I've made both and had people ask which version was my original. A quarter teaspoon of cinnamon disappears into the coconut and adds something you can't quite name but notice immediately, and for people who want something darker, dark chocolate chips with a pinch of sea salt on top creates an almost-sophisticated treat.
Storage and Make-Ahead Magic
These are genuinely better cold, so there's no guilt in making them days ahead and keeping them wrapped in the fridge. They last about a week in an airtight container, though I've never had a batch make it past day three. They don't freeze particularly well—the texture gets strange—but kept cold they're actually better on day two when all the flavors have melded slightly.
The Small Details That Matter
I learned these details through small kitchen experiments, and they genuinely change how the finished bite tastes and feels. The difference between a flat, dense treat and one with just slightly more airiness comes from not overmixing once you add the dry ingredients—you want everything just combined, not worked into submission. Temperature matters more than you'd think; if your hands are warm, the mixture gets soft and greasy, so I keep mine cool by rinsing in cold water between batches. Finally, the time you let them sit in the fridge the first time isn't arbitrary—too short and they'll fall apart when you roll them, too long and they get hard to shape.
- If you only have sweetened condensed milk that's slightly different from what's called for, it'll still work; condensed milk is remarkably consistent across brands.
- A cookie scoop takes the guesswork out of portion size and makes the whole process feel less chaotic.
- These taste incredible with strong coffee or hot chocolate, which is saying something for a no-bake treat.
 Save It
 These bites have become my secret weapon for moments when I want to feel like I've done something thoughtful but only have 20 minutes to spare. They're proof that the best treats don't need an oven or a complicated method—just good ingredients mixed with intention.
Recipe FAQs
- → How long do moose bites need to chill?
The mixture needs about 1 hour in the refrigerator to firm enough for rolling. After shaping, chill another 15 minutes until set. For best results, let them chill completely before serving.
- → Can I freeze these chocolate coconut bites?
Yes, these freeze beautifully. Place the rolled balls on a baking sheet until frozen solid, then transfer to an airtight container. They'll keep for up to 3 months. Thaw in the refrigerator for 2 hours before serving.
- → What can I use instead of graham crackers?
Digestive biscuits, vanilla wafers, or even crushed shortbread cookies work well as substitutes. For a gluten-free version, use certified gluten-free graham-style crackers or crushed almond cookies.
- → Why is my mixture too sticky to roll?
If the dough feels too sticky, refrigerate for another 30 minutes until it firms up. You can also lightly grease your hands with butter or coconut oil. The mixture should hold its shape when gently squeezed.
- → Can I make these without coconut?
Substitute with crushed nuts like pecans, walnuts, or almonds. Alternatively, increase the graham cracker crumbs to 2 cups and add 1/2 cup quick oats for texture without the coconut flavor.
- → How should I store leftover moose bites?
Keep in an airtight container in the refrigerator, separating layers with parchment paper to prevent sticking. They'll stay fresh for 5-7 days. For longer storage, freeze as mentioned above.