 Save It
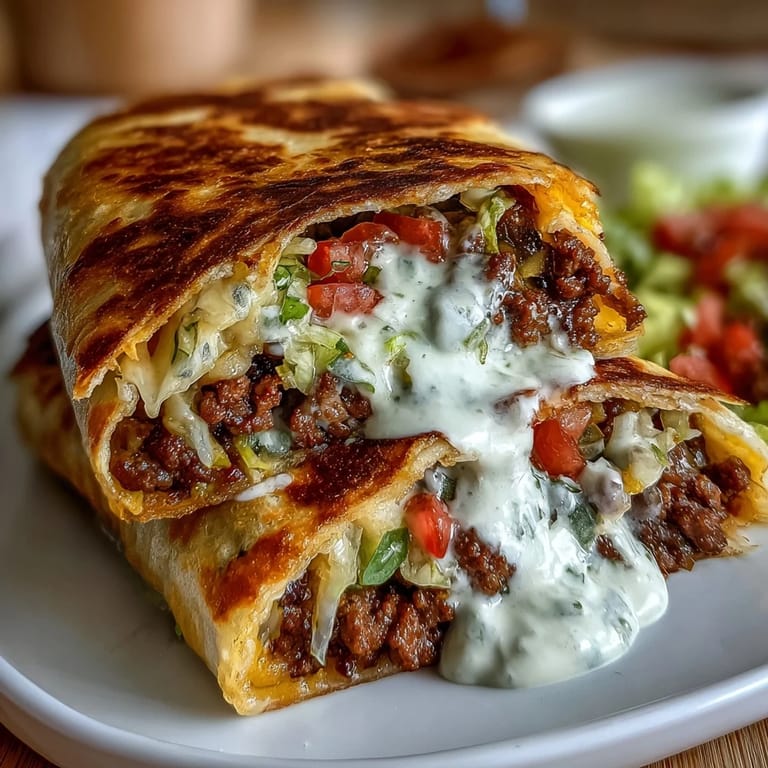
 My kitchen smelled like a taco truck the first time I decided to stop missing Tex-Mex on keto, and honestly, I was skeptical that a low-carb tortilla could pull off the crispy-chewy magic of the original. But there it was—golden, folded, and somehow better than I remembered. The real moment came when my partner bit into one and said, "Wait, this is actually good," with genuine surprise. That's when I knew I'd cracked something special.
I made these for a friend who'd just started keto and was feeling pretty defeated about giving up her favorite fast-food runs. Watching her face light up when she took that first bite felt like I'd just handed her permission to enjoy food again. She ate both halves without pausing and asked for the recipe before she even swallowed the last bite. Sometimes a good meal is about more than just taste—it's about reminding someone they're not missing out.
Ingredients
- Unsalted butter: This is your base for the cheese sauce—use real butter, never margarine, because the flavor actually matters when everything else is so simple.
- Cream cheese: The secret ingredient that makes the sauce velvety and keeps it from breaking, even if you're reheating it later.
- Heavy whipping cream: Don't skip this or substitute with milk; it's what gives the sauce its luxurious texture and helps it cling to the filling.
- Sharp cheddar cheese: The sharper the better—mild cheddar tastes like nothing in comparison, and you want that bold flavor to carry the whole wrap.
- Ground beef: Fattier cuts work best here; lean beef will dry out as the wrap cooks, so go for 80/20 if you can find it.
- Taco seasoning: Make your own if you're avoiding additives, but honestly, a quality store-bought blend saves time and tastes nearly identical.
- Low-carb tortillas: This is where quality really shows—cheap ones tear and taste like cardboard, so spend a little extra on Mission Carb Balance or a quality almond flour brand.
- Sour cream: The cooling counterpoint to all that richness; Greek yogurt works in a pinch but won't taste quite as creamy.
- Fresh lettuce: Iceberg gives you that crisp snap, while romaine adds a slight bitter note that balances the cheese beautifully.
- Shredded cheese for topping: Pepper jack adds heat if you want it, but sharp cheddar keeps things unified and delicious.
- Cilantro: Fresh herbs brighten everything up; don't use dried unless you genuinely have no other choice.
Tired of Takeout? 🥡
Get 10 meals you can make faster than delivery arrives. Seriously.
One email. No spam. Unsubscribe anytime.
Instructions
- Make your silky cheese sauce:
- Melt butter over medium heat, then whisk in cream cheese until there are no lumps—this takes about a minute of patient whisking. Add cream slowly while stirring, then fold in the cheddar until it disappears into something glossy and perfect.
- Brown the seasoned beef:
- Heat your skillet until it's hot enough that the meat sizzles immediately, then break it into small pieces as it cooks so you get texture and browning, not gray clumps. Once it's browned, drain the excess fat (save a little if you're worried about dryness) and stir in the taco seasoning.
- Crisp your tortillas:
- This is non-negotiable—heat oil until it's shimmering, then lay each tortilla in carefully and let it sit for a minute before flipping so it actually gets golden and crispy instead of just warm. You want them sturdy enough to hold filling without tearing.
- Layer your filling like you mean it:
- Lay a crispy tortilla flat, add a generous handful of beef right in the center, then pour warm cheese sauce over it so every bite has that rich coating. Top with sour cream, lettuce, tomato, and extra cheese, leaving enough space around the edges to fold.
- Fold and seal:
- Fold the edges up and over the filling, creating a hexagon shape—it should feel sturdy and mostly sealed when you're done. This is what keeps everything from spilling out in the pan.
- Pan-fry until golden and sealed:
- Place the wrap seam-side down in a skillet with a little oil and let it sit for 3 minutes without moving it so the bottom gets golden and crispy. Flip once and cook the other side the same way, then let it rest for a minute so the cheese sets.
 Save It
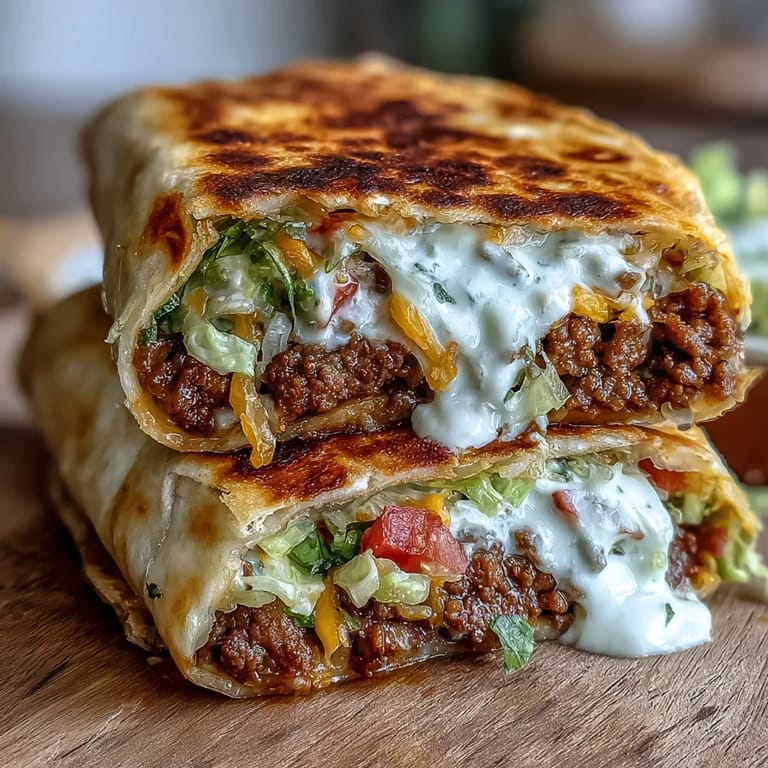
 There's something almost ceremonial about slicing into a perfectly cooked Crunchwrap—that moment when the knife cuts through the golden exterior and you see all the layers you just built still holding together. It stopped being just food somewhere between the third and fourth time I made them, when people started asking if I could meal-prep them for the week ahead.
Why the Cheese Sauce Makes All the Difference
Most low-carb wraps feel dry and sad because they're missing that creamy, savory component that makes eating actually enjoyable. The cheese sauce bridges the gap between "this is technically food" and "I actually want to eat this," coating every ingredient so nothing feels like it's missing something. The cream cheese is the secret—it emulsifies everything into something that tastes expensive and indulgent without any weird aftertaste.
Building Flavor Layers Without Carbs
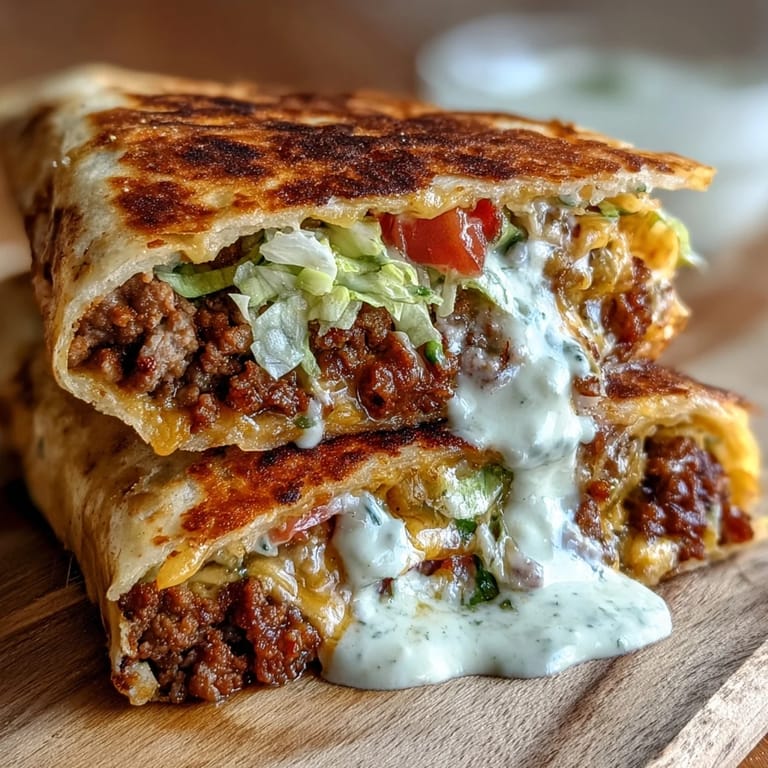
Here's what I figured out after making these dozens of times: seasoned beef alone is fine, but seasoned beef plus that sharp cheddar plus fresh cilantro plus a little jalapeño heat creates this whole ecosystem of flavors that keeps you interested past the first few bites. The sour cream adds a cooling tartness, the lettuce provides crunch, and the tomato brings a tiny bit of brightness that cuts through the richness. It's not about one ingredient being amazing—it's about them all working together like a conversation.
Make Them Your Way
The beautiful thing about these is that they're a template, not a rule. I've made versions with ground turkey when I was being particularly health-conscious, added a layer of cauliflower rice to stretch them further, and even experimented with a cilantro lime crema instead of plain sour cream. Trust your instincts and your pantry.
- Add a few crushed low-carb tortilla chips inside the wrap before folding for extra crunch and texture.
- Make the cheese sauce ahead and reheat it gently in the microwave in 30-second bursts so it stays smooth and pourable.
- If your tortillas keep tearing, let them come to room temperature before frying and handle them more gently on the flip.
 Save It
 These Crunchwraps have become my go-to when I want to prove that keto doesn't mean sad, boring food. They're proof that the right ingredients and a little care can turn a fast-food craving into something that actually feels special.
Recipe FAQs
- → What makes these crunchwraps keto-friendly?
These crunchwraps use low-carb tortillas instead of traditional flour tortillas, significantly reducing the carbohydrate count. With only 15g of net carbs per serving, they fit perfectly into a ketogenic diet while still delivering the crispy, cheesy Tex-Mex experience you love.
- → Can I make these ahead of time?
Yes, you can assemble the crunchwraps ahead and refrigerate them for up to 24 hours before cooking. Alternatively, cook them completely and store in the refrigerator for 3-4 days. Reheat in a skillet over medium heat for 2-3 minutes per side to restore the crispy texture.
- → What protein alternatives work well?
Ground chicken or turkey make excellent lighter substitutions for the beef. Both absorb the taco seasoning beautifully and provide a leaner protein option while maintaining the savory Tex-Mex profile. Just ensure you drain any excess liquid after cooking to prevent soggy wraps.
- → How do I prevent the filling from leaking?
The key is folding the tortilla edges in a hexagonal pattern, overlapping each fold slightly to create a sealed pocket. Avoid overfilling—use about 1/4 cup of beef and 2 tablespoons of cheese sauce per wrap. Cooking seam-side down first helps seal the folds shut.
- → Can I freeze these crunchwraps?
Absolutely! Assemble uncooked crunchwraps, wrap individually in plastic wrap and foil, then freeze for up to 3 months. Thaw overnight in the refrigerator, then cook according to the instructions. Alternatively, freeze cooked wraps and reheat in a 350°F oven for 15-20 minutes until heated through.